Report an issue with this page...
Holeshot Rear Fender Eliminator Kit - Installation Tips
Yamaha FZ1 (2006+)
775-463-5394
1 | |
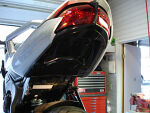  | |
Disconnect the blinker, tail and plate light plugs. Un-bolt rear fender, then carefully pull all wires through and remove the fender. Be sure to review all photos before you start the installation. | |
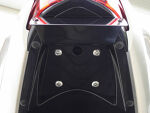
2 | |
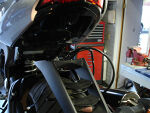  | |
This shows the fender being removed and how the 8mm stainless button head allen bolts are to be installed in the Holeshot fender eliminator tray. | |
3 | |
  | |
Apply a few drops of blue Loctite on the bolts then install the Holeshot fender eliminator tray. | |
4 | |
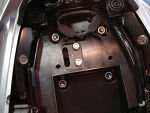  | |
Use the 8mm flange nuts on top and lightly snug only at this time. Move the tray right to left and center to your liking, then tighten the nuts while holding the bolt heads with a allen wrench. | |
5 | |
 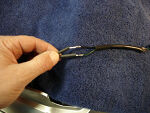 | |
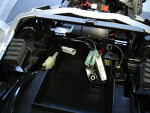
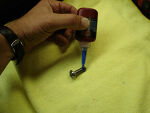
Cut the original blinker wires off at about a 6" length as shown, making note of the left and right blinker first. Neatly solder and shrink tube to the cat eye blinker wires. Crimp connectors are not recommended. | |
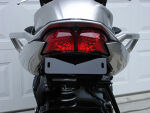
6 | |
 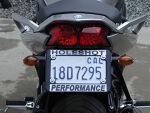 | |
With wires shrink tubed, install the cat eye blinkers onto the stainless bracket with the bracket ears pointing forward. Install the bracket against the tray, then your license plate and frame last. Adjust up and down to your liking and snug down. Neatly route the blinkers wires through the large hole in fender eliminator tray and plug back into the bike's wiring harness. You may want to use a couple small black nylon ties to do a neat job. | |
7 | |
  | |
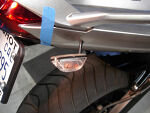
To install flush mount style blinkers mark the spot with painters tape as shown and start with the right hand side. Hold blinker up in position, then mark where the blinker wire hole needs to be drilled. Using a step drill bit drill a 7/32" hole as shown. | |
8 | |
  | |
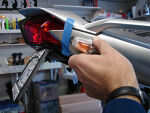
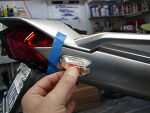
Apply double sided foam to blinker as shown. Cut about 16" of 18 gauge wire and slightly bend the end as shown. | |
9 | |
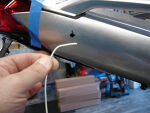
  | |
Neatly tape the 18 gauge wire to both blinker wires and fish through holes as shown. This little trick allows you to leave the tail section totally assembled and route the wires to the plugs. | |
10 | |
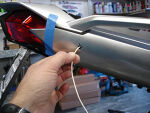
  | |
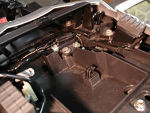
Using a good light, fish the wire forward until you can reach it with needle nose pliers as shown. | |
11 | |
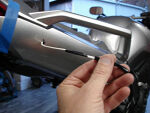
 | |
Peel off the protective tape then carefully mount the blinker in the proper position on the tail section. Cut the original right hand blinker wires at about a 6" length as shown here and in photo 5. | |
12 | |
| |
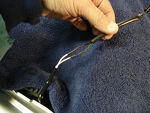
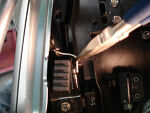
Lay a towel on the bike, then solder and shrink tube the right hand blinker plug wires to the flush mount blinker wires as shown. | |
13 | |
 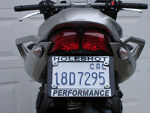 | |
Neatly route the blinkers wires as shown and plug back into the bike harness. Install the left hand blinker using these same steps. Install your license plate and frame, adjust up and down to your liking then snug down. | |