
Report an issue with this page...
Suzuki V Strom GI Pro & Bracket
Installation photo tip page
Be sure to review all photos before you start the installation, feel free to call Dale if you have any questions.
775-463-5394
1 | |
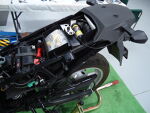 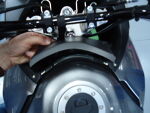 | |
Remove left side panel and plastic panel in front of gas tank | |
2 | |
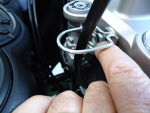 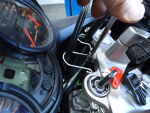 | |
Remove front brake line and throttle cable holder from top crown | |
3 | |
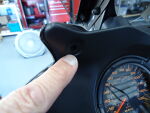 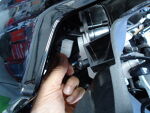 | |
Remove push pins , then pull dash back a bit and unplug main instrument harness | |
4 | |
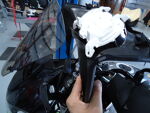 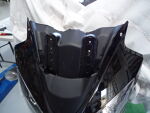 | |
Remove dash, then cover gas tank with towel and remove windscreen | |
5 | |
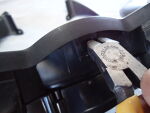 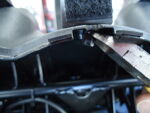 | |
The panel tab and tab pin must be complete trimmed off to clear GI harness wire | |
6 | |
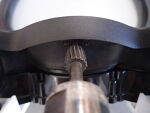  | |
Dremel tab clear off as shown Note ! You may have a very small gap when reassembled but it will not effect anything | |
7 | |
 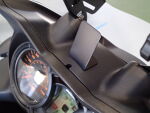 | |
Dremel or file slot large enough for the GI harness wire to have a little clearance. Now hold bracket & GI in place and test fit for mounting location. Drill 3/16" mounting hole and install bracket using button head allen bolt with washer and nut underneath the dash | |
8 | |
 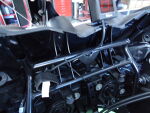 | |
Install GI to bracket using provided velcro and route harness wire as shown. Note ! be sure to leave a little slack so you can remove the GI and get to the adjustment button on the bottom | |
9 | |
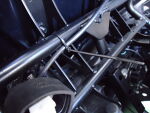 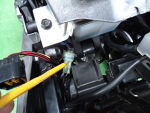 | |
Be sure to nylon tie the harness wire, then route on the left side of and frame back to left side panel area. The plug shown is the one you tap into on the DL 650. The DL 1000 is more of a triangle shape | |
10 | |
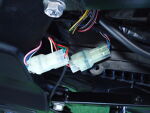 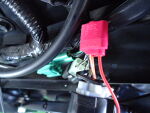 | |
This shows the GI plugged into the DL 650 harness plugs. I like tapping into a keyed 12 volts. This will have zero battery drain when the bike sits. The harness orange with white stripe wire works well | |
11 | |
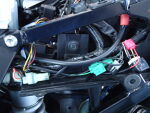 | |
This shows the GI harness all wired in, cleaned up and nylon tied. Plug in the gauge harness and reinstall the dash and gas tank panel. The final step is to test the unit and set up, then re-assemble the rest of your bike and go a for a ride Your all done | |